How to Use Carousel FX to Create Stunning Portfolios

WordPress has provided us with many functionalities and these functionalities are extended by using plugins. One such plugin is Carousel FX. It is a responsive Carousel jquery Slider that creates stunning slider galleries and portfolios.
Carousel FX is a plugin for showcasing images & portfolios within a cool slider on your WordPress site.
With its numerous exciting features, your site would come to life. In this post, I’ll walk you through using this WordPress Slider plugin.
Installing WordPress Slider Plugin
1. Download the carouselfx.zip file & unzip to plugins folder located at
/wordpress/wp-content/plugins
2. Go to WordPress Dashboard -> Plugins -> Installed Plugins
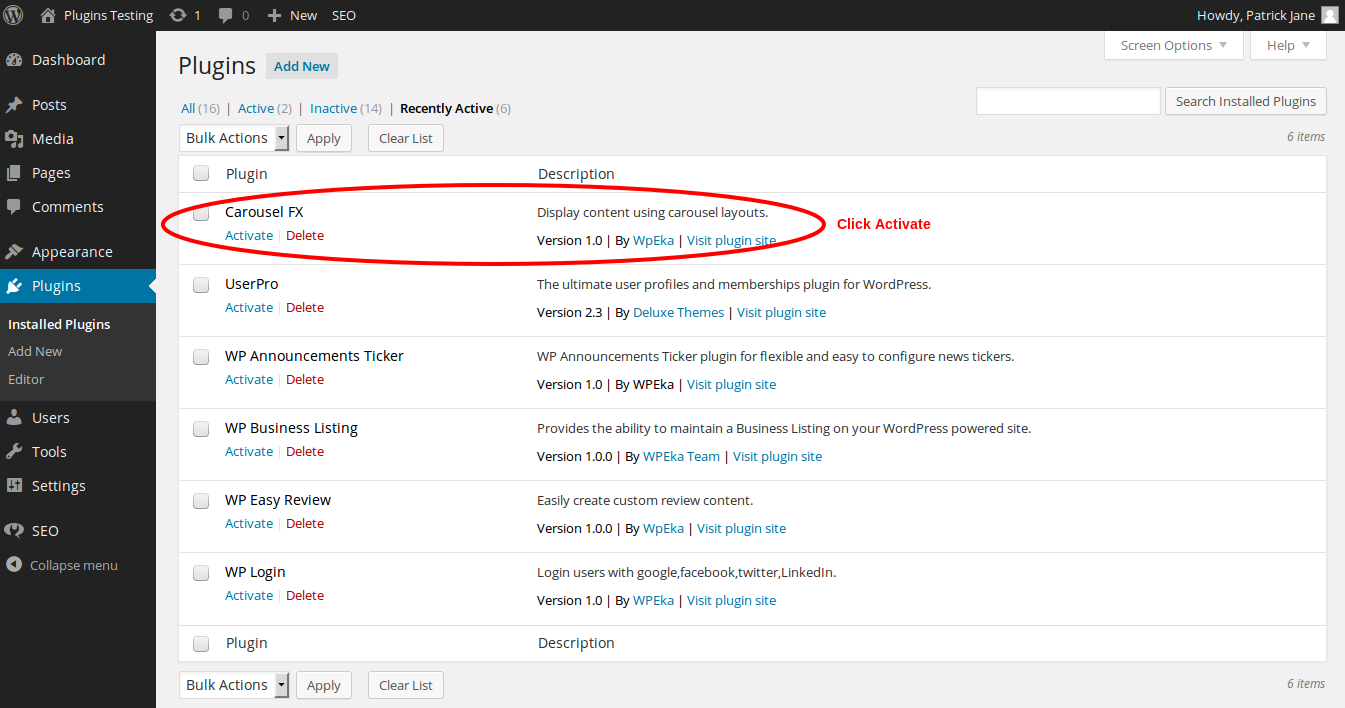
3. Activate Carousel FX.
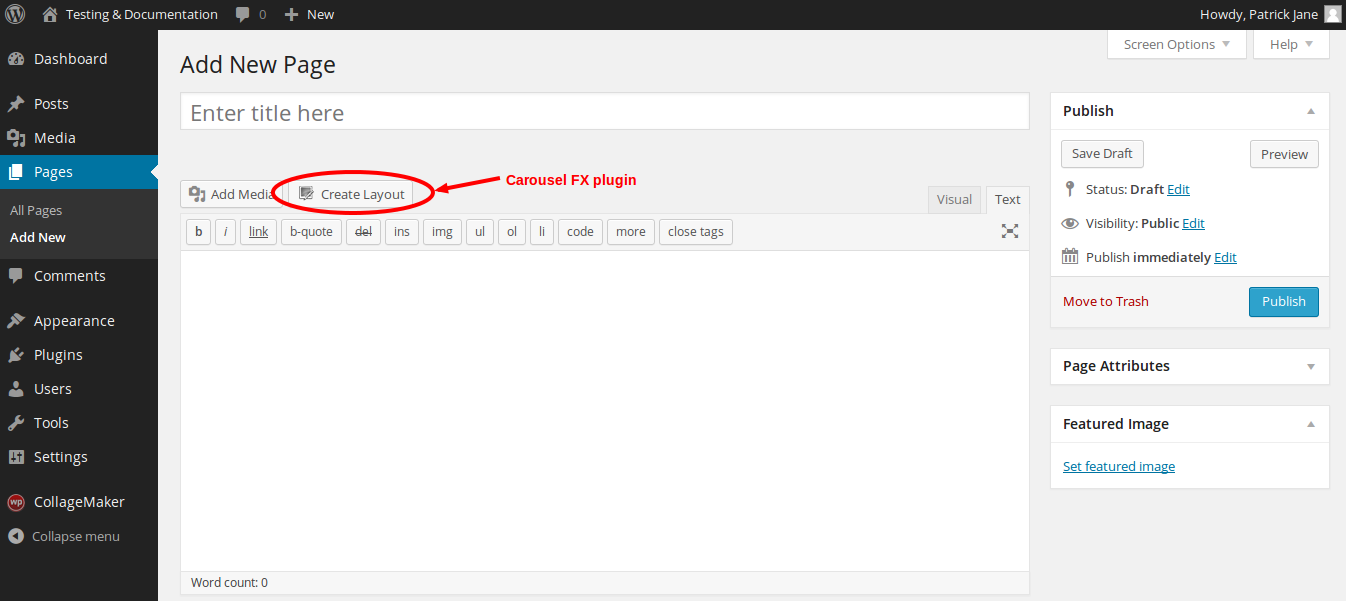
4. Add a new page / post to add a carousel layout to your site. Click on Create Layout button.
Managing Carousel FX
Carousel FX will generate the shortcode automatically based on the layout & it’s settings as you create them. Carousel FX – slider plugin provides 5 layout options:
LightBox | Portfolio | Top Navigation | Normal Carousel | Image with Description
1. LightBox : Display your images in a LightBox.
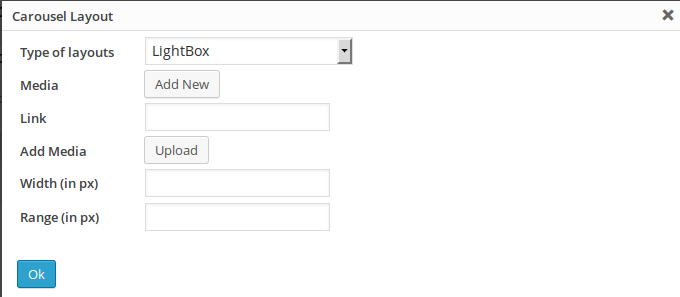
Type of layouts : Type of layout for the carousel. Choose LightBox.
Media : Image to be displayed in the layout. Click on Add New button
Link : External URL for redirection.
Add Media : Upload image for the layout. Click Upload button to upload an image.
Width (in px) : Width of the image.
Range (in px) : Range of the image.
Click Ok to generate the shortcode. Paste this shortcode in any post / page to embed the carousel layout.

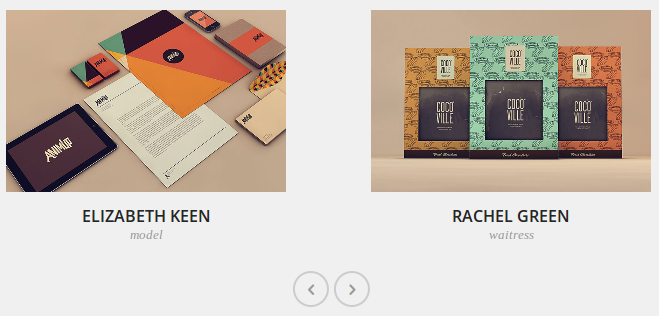
2. Portfolio : Create a portfolio with images.
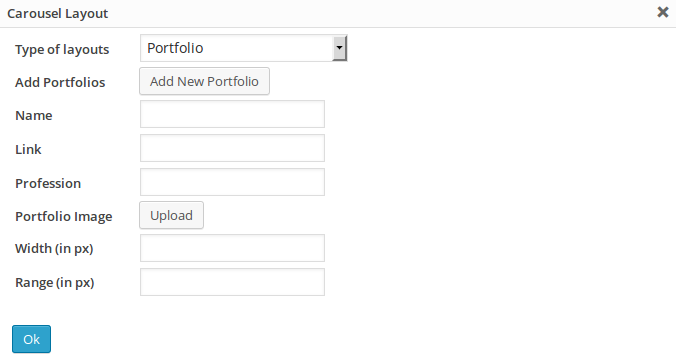
Type of layouts : Type of layout for the carousel. Choose Portfolio.
Add Portfolios : Add portfolios to the layout. Click Add New Portfolio.
Name : Name of the individual for the portfolio.
Link : External URL for redirection.
Profession : Profession of the individual for the portfolio.
Portfolio Image : Image for the portfolio. Click Upload button to upload an image.
Width (in px) : Width of the image.
Range (in px) : Range of the image.
Click Ok to generate the shortcode. Paste this shortcode in any post / page to embed the carousel layout.
3. Top Navigation : Create a image carousel with a navigation bar at the top.
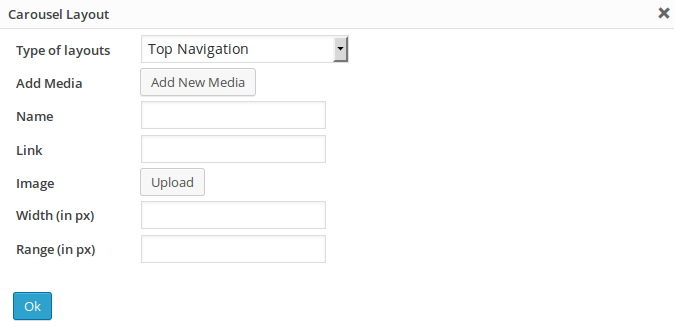
Type of layouts : Type of layout for the carousel. Choose Top Navigation.
Add Media : Media for the layout. Click Add New Media.
Name : Name for the media.
Link : External URL for redirection.
Image : Image to be displayed in the layout. Click Upload button to upload an image.
Width (in px) : Width of the image.
Range (in px) : Range of the image.
Click Ok to generate the shortcode. Paste this shortcode in any post / page to embed the carousel layout.

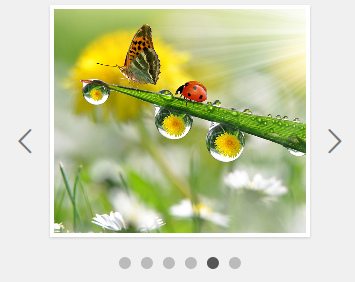
4. Normal Carousel : Create a basic slider carousel.
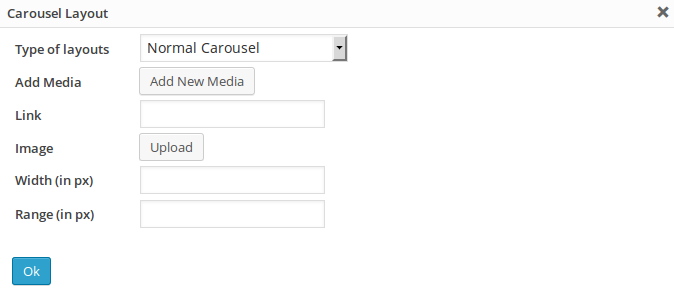
Type of layouts : Type of layout for the carousel. Choose Normal Carousel.
Add Media : Media for the layout. Click Add New Media.
Link : External URL for redirection.
Image : Image to be displayed in the layout. Click Upload button to upload an image.
Width (in px) : Width of the image.
Range (in px) : Range of the image.
Click Ok to generate the shortcode. Paste this shortcode in any post / page to embed the carousel layout.
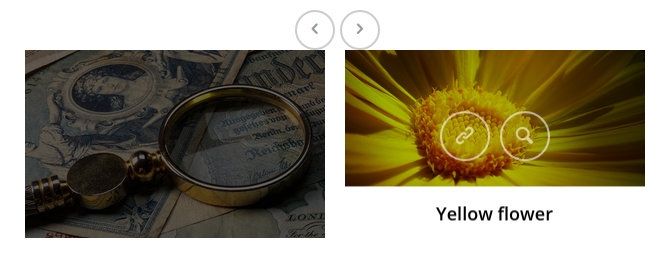
5. Image with Description : Display images with description in the image with description layout.
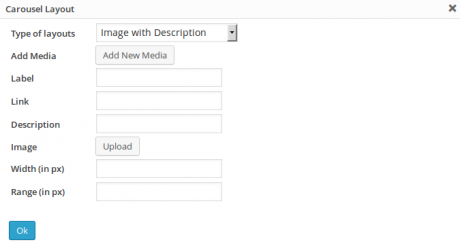
Type of layouts : Type of layout for the carousel. Choose Image with Description.
Add Media : Media for the layout. Click Add New Media.
Label : Label for the image.
Link : External URL for redirection.
Description : Description to be displayed in the layout for the image.
Image : Image to be displayed in the layout. Click Upload button to upload an image.
Width (in px) : Width of the image.
Range (in px) : Range of the image.
Click Ok to generate the shortcode. Paste this shortcode in any post / page to embed the carousel layout.
Note : If you have not specified the width & range for the layout; Carousel FX set will set the default width = 260px & range = 320px .
Note : Also when using multiple layouts on the same post/page; Carousel FX will apply the width & range of the last layout you have used to all the layouts automatically.
So that’s pretty much what you need to know in order to use this responsive WordPress Slider Plugin effectively. If you know of any other tips that I may have missed, do let me know by leaving a comment here.
Bring your site alive by downloading this jquery carousel slider here.

How do I edit a gallery once I’ve saved it?
Hi Charlie,
Are you asking about editing the layouts? You can do so by making changes to the shortcode generated by Carousel FX.
Your shortcode would look something as follows :
[carousellayout type=1 width=100 range=200 ids=44,45]
Each layout type is represented by a number from 1-5. Here type=1 signifies the Lightbox layout and ids are the images within the layout. The ids are assigned automatically after shortcode generation. You can use other ids from different existing layouts.
For example here we have two different layout shortcodes :
Carousel FX Lightbox Layout : [carousellayout type=1 width=100 range=200 ids=44,45]
Carousel FX Normal Layout : [carousellayout type=5 width=200 range=200 ids=36,37,38,40,44]
As you can see I have used the id from one layout into another.
I hope this answers your question. Feel free to get in touch with us for further assistance.
Cheers,
Preeti