How To Build A Website With WordPress
Planning to build a website? No need to worry anymore. In this article, we will show you how to build a website with WordPress.
WordPress is a beginner-friendly content management system. It is free, open source and one of the most popular blogging tools and website platforms. Following some easy steps, you can set up your website. No need to take help from any developer.
What do you need to build a website?
To build a website with WordPress all you need are –
- A domain name
- A hosting service
- 40 minutes of your time
How much does a WordPress website cost?
A WordPress website is not a very costly affair. How much will your site cost completely depends on what kind of a website you wish to have. Usually, a typical business website costs $100 per year. It can go up to $30,000 per year.
Which is the best website platform?
Nowadays, there are many website creators available in the market like WordPress, Drupal, Joomla etc. We recommend WordPress. Here are the reasons –
- WordPress is the most popular Content Management system today. It currently powers almost 28% of the websites of the internet.
- It is easy to use and needs no coding knowledge.
- It is free and comes with lots of website designs.
- There are thousands of themes and plugins available for WordPress.
Steps To Build a WordPress Website
Setting Up
After you have finalized the platform, you have to choose a domain name. Your domain name is your identity. It is the mane that shows in your URL. Your visitors know you by this name. But, what domain name you will get depends on the availability. So, it is always advisable to keep three to four options ready.
The next thing you need is choose a hosting service. There are many hosting services available. We recommend using Bluehost. It is an official hosting partner of WordPress and one of the most widely used hosting services of the world.
Here are the steps you need to follow to purchase your domain name and hosting provider –
- Login to your Bluehost Control Panel.
- Click the Domains tab.
- Click on the sub-tab Register.
- Enter your desired domain name.
- Click the check button.
- Click the green cart button to add the domain to your cart.
- Under your cart on the far right, click next.
- Review the Registration Settings and click add to cart.
- Apply payment details, and checkout.
After completion of the process, you will receive a mail about how to log in to your cPanel or the web hosting control panel. This is your hosting dashboard. You will install WordPress here.
Installing WordPress
- Go to your hosting account dashboard
- Scroll down and click on the WordPress icon. Alternatively you can also go to the “My Site” section of your dashboard.
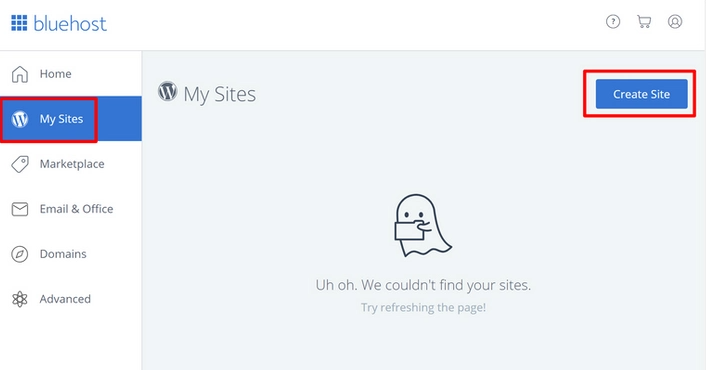
- You will now be asked to select the domain name where you want to install WordPress
- Select your domain name from the dropdown field and click on the Next button
- Now you will have to enter the website name, admin username and password. You will also have to check all the checkboxes of the screen.
- Click on the install button to continue
- The quick installation process will start. After it is over, you will receive a success message.
- WordPress is now installed on your local device.
Selecting a theme
Theme defines the overall look of your site. People prefer to visit the sites which have an attractive look. So, it is very important to choose an ideal theme for your site before you get started. Consider your overall branding when selecting a theme. The overall design needs to match your logo and brands colors. Should you not have a logo design already, you can always use a free tool like Logo Creator. If the default theme does not work, you may replace it with another one of your choices. If you are not happy with the default theme, you may replace it with another one of your choices.
To change your theme, follow the steps below –
- Go to your WordPress Dashboard
- Go to Appearance -> Themes
- Click on the Add new button
- You will see thousands of themes on your screen
- Choose the one most appropriate for you and click on the Install button
- After the theme is installed, you can customize it by clicking on the customize link under the Appearance Menu
- A theme customizer will appear. Here you will be able to change the theme settings with a live preview of your website
Adding content
Adding content to WordPress is much easier than you think. You can create pages and posts with a flicks without any technical knowledge. All you have to do is to login to your account. All the features are self explanatory.
Here are the steps you need to follow –
- Head on to your WordPress dashboard
- Go to Pages -> Add new
- This will take you to a page editor screen
- You need to give a tile to the page, you can name it “HomePage”
- Now you can all content to the text editor
- WordPress allows you to add text, image, links, audio and video to your website
- After you are done, see the preview once to see how it will look finally
- If you are satisfied, click on the publish button to publish the page
You can repeat the process to add more pages to your website for different sections.
Customizing your website
After you have added content to your website you can design the layout of your website to make it more presentable. Below are the steps to customize your options:
Setting up a static front page
For setting up a static front page you need to go to your WordPress admin dashboard. Now follow the steps below –
- Go to Settings -> Reading
- Under the Frontpage display options click on the static front page
- Nw select the pages you have created for your home and blog pages
- Click on the “Save Changes” button at the bottom of the page
WordPress will use the page titled home as your front page and the blog page to display your blog posts.
Changing site title and tagline
You select your site title during the installation process. WordPress automatically adds a tagline “Just another WordPress site”.
You can change both the tagline and the title following the steps below –
- Go to Settings -> General
- Add the new title and the tagline in the respective fields
- You can leave the tagline field blank if you wish
- Click on the “Save Changes” button
Comments setting
WordPress comes with an inbuilt comments system. It allows your readers to leave comments on your posts. It is a good thing but spammers try to target it sometimes. To deal with this problem, you need to enable comment moderation on your site.
Here is the way how you can do that –
- Go to settings Settings -> Discussions
- Scroll down to “Before a comment appears section”
- Check the box next to “Comments must be manually approved section”
- Click on the “ Save Changes” button
Creating a navigation menu
You can create different menus and display them in different areas on your site. Usually, the primary menu appears on the top. The secondary menus like a footer menu or mobile menu are displayed in other areas. Follow the steps below –
- Go to Appearance -> Menus page
- Add a name for your Navigation Menu
- Click on the “Create menu” button
- Your menu will now be created. But it will now be empty.
- Select the pages you want to display in the menu
- Click on the “Add to menu” button
- The selected pages will now be added to the menu
- You can rearrange their position by moving them up or down
After the menu is created you have to choose a display location for it. It is usually defined by the theme you are using. Most of the WordPress themes come with a primary menu that appears on the top of the page. Finally, click on the “Save Changes” button.
Installing necessary plugins
To install WordPress plugins, follow the steps below –
- Go to your WordPress dashboard
- Click on Plugins -> Add new
- Search for the plugin you are looking for
- Select it and click on the Install button
- After the installation process is over, click on the Activate button to activate it
Here is a list of some necessary plugins you need to go for to make your site more flexible and effective –
WP Cookie Notice for GDPR, CCPA & ePrivacy Consent
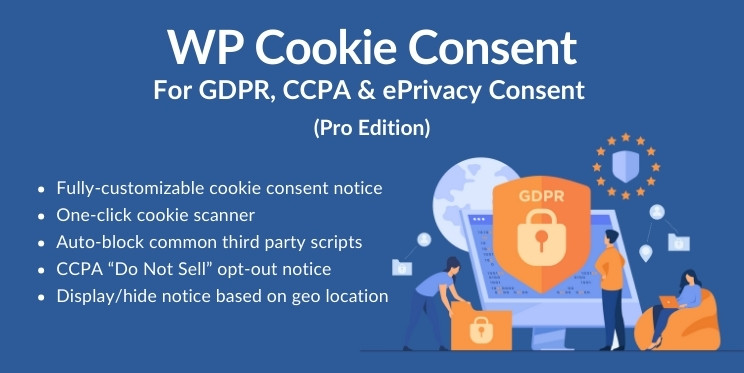
Cookie Consent is a WordPress plugin to make your site CCPA and GDPR compliant. It is for the security of your site. It comes with one click cookie scanner and autoblocks common third party scripts. You may display or hide notices based on your geolocation.
WP Legal Pages
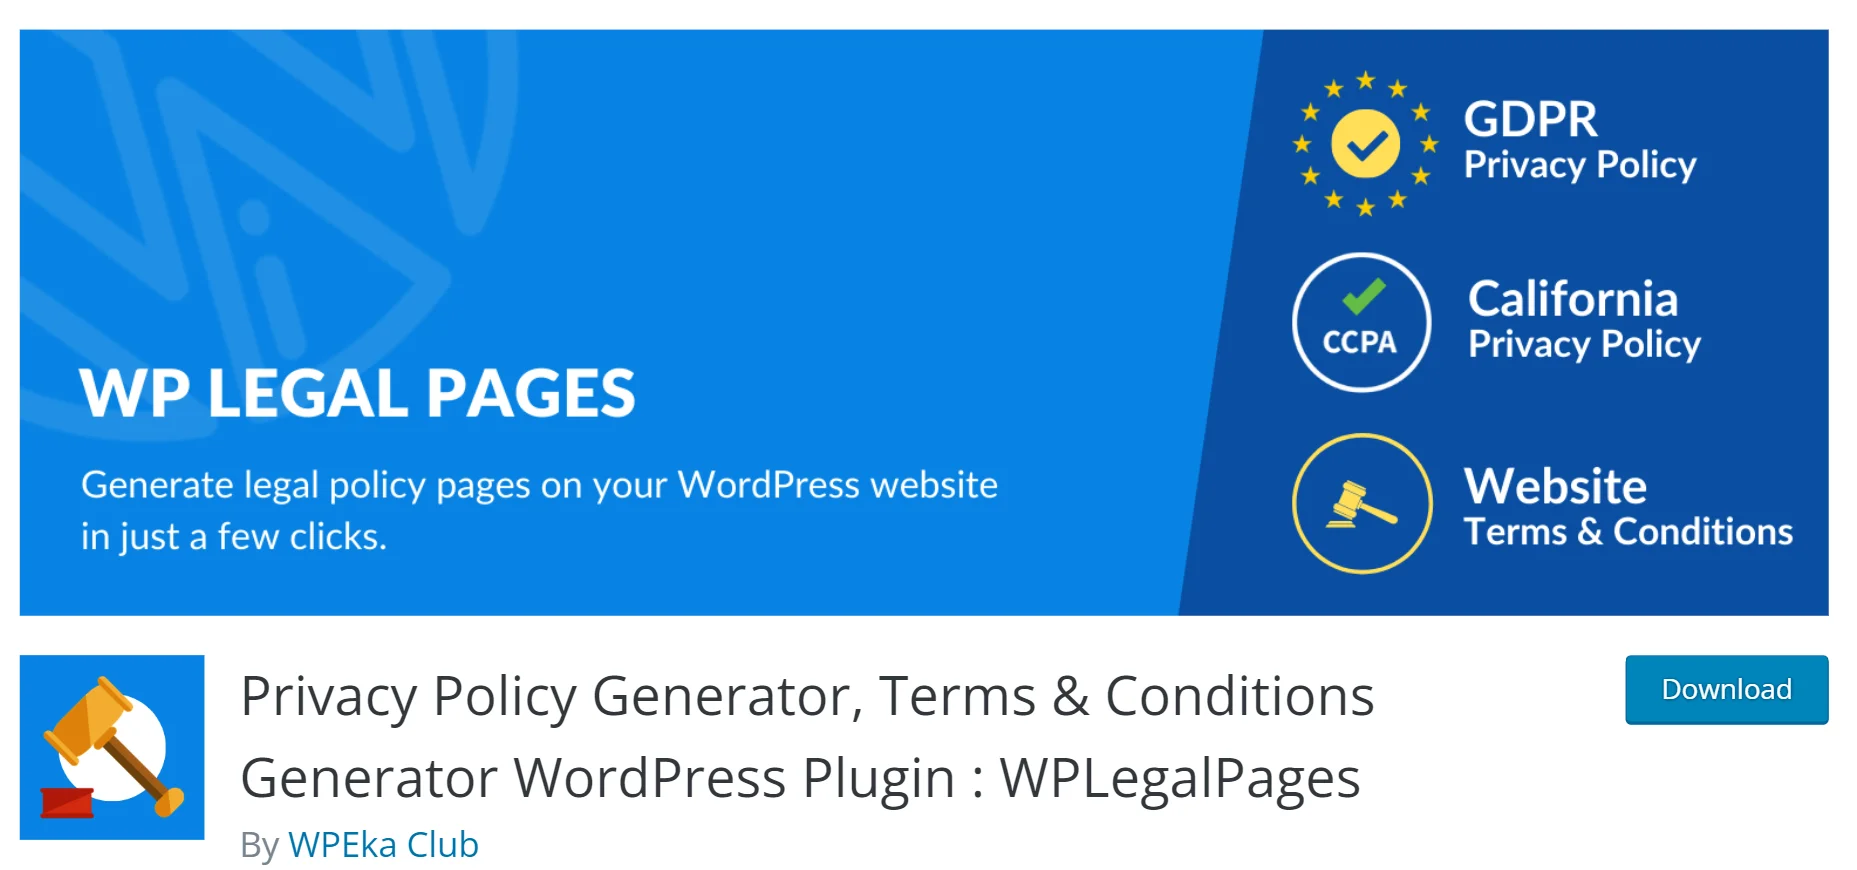
WP legal pages allows you to create attorney level privacy policy pages to make your site compliant for the privacy laws of different countries. It comes with 25+ pre-designed policy pages. You can just enter your business details and click on the Save button to generate a policy page.
WPForms
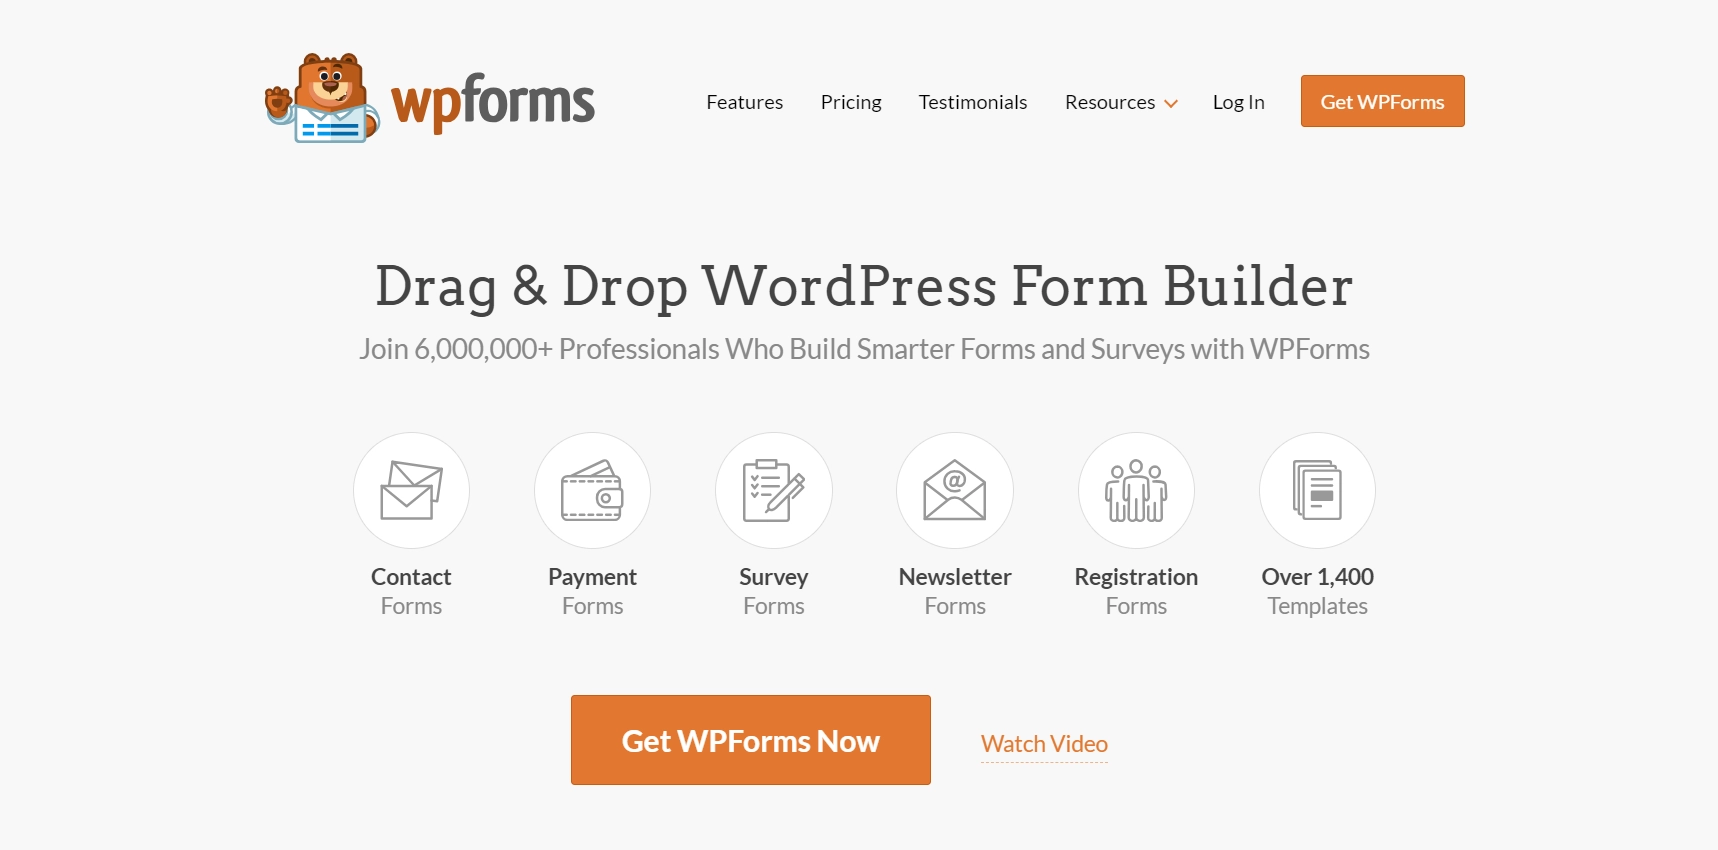
WP Forms Like allows you to create contact forms on your website.WP Forms is one of the most popular contact form plugins owing to its ease of use and flexibility.
Envira Gallery
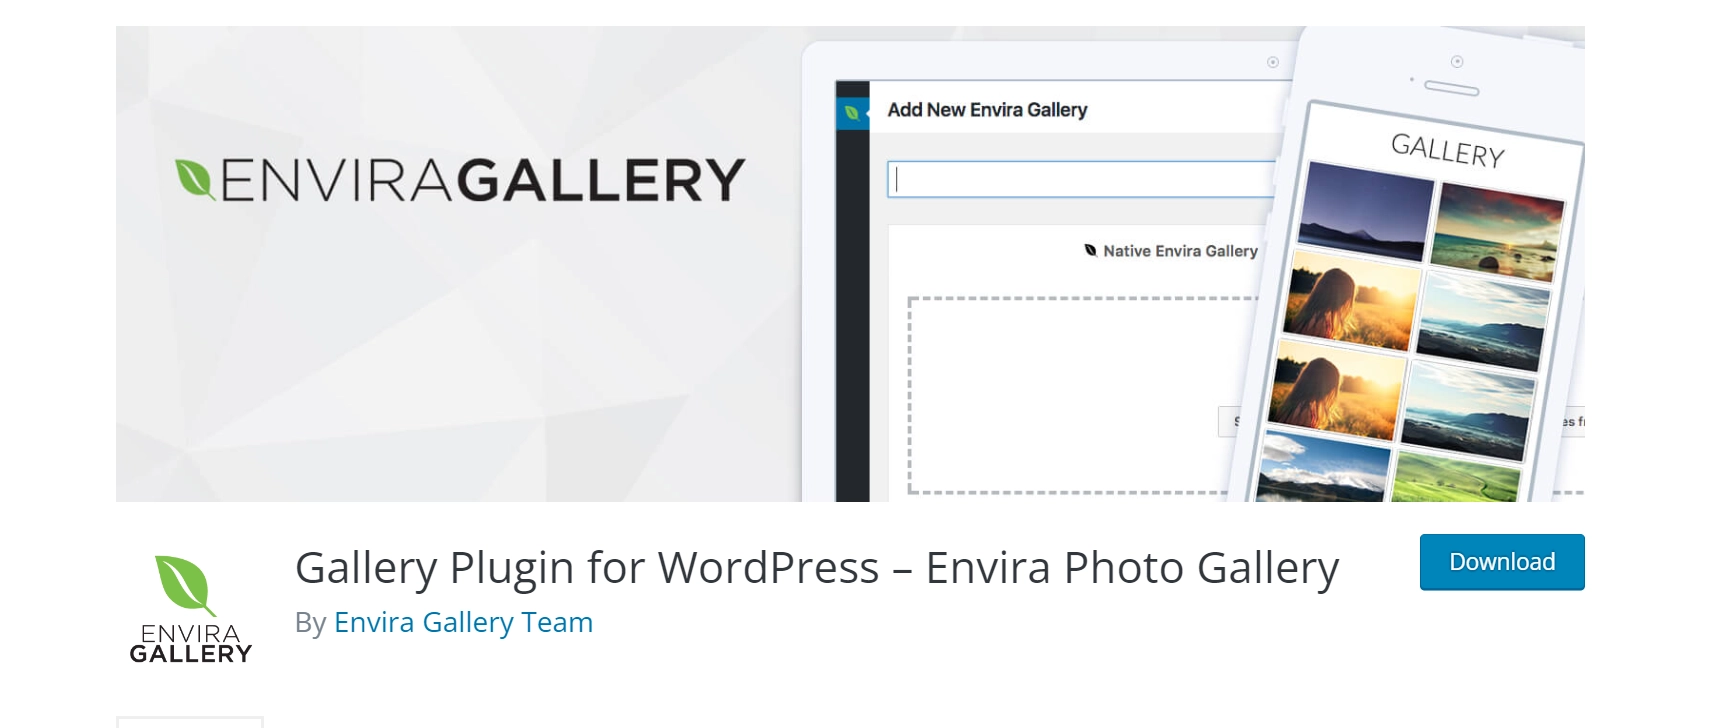
Envira Gallery Lite is a WordPress gallery plugin. It is a drag and drop gallery builder. You can create a stunning image and video gallery on your site using this plugin.
Monster Insights

Monsterinsights allows you to add Google Analytics to your WordPress website. You can easily customize and manage it. It helps you track where the traffic is coming from.
Yoast SEO
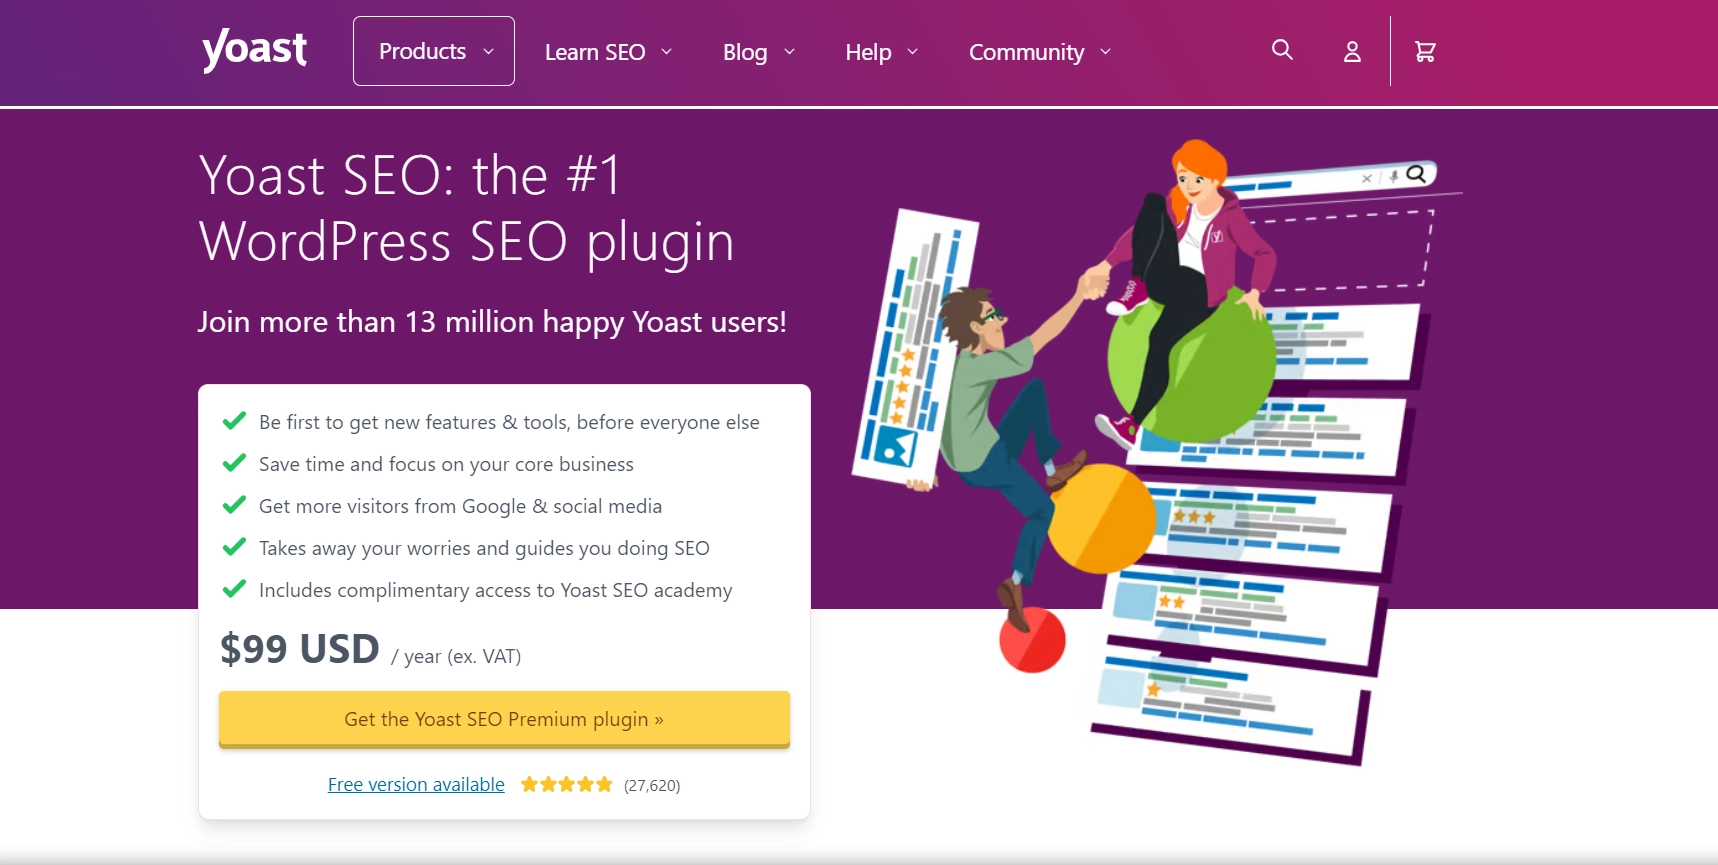
Yoast SEO is a WordPress SEO plugin. It helps you to optimize your site for search engines. Installing this plugin ensures buffer performance and good SEO position.
W3 Total Cache
W3 Total Cache is a WordPress cache plugin that improves the SEO features of the sites by reducing loading time with CDN integration and improving website performance.
MemberPress

MemberPress is an easy to use WordPress Membership Plugin. It will help you to instantly start charging your users for access to your content. It helps you to create, track and manage membership subscriptions.
UpdraftPlus
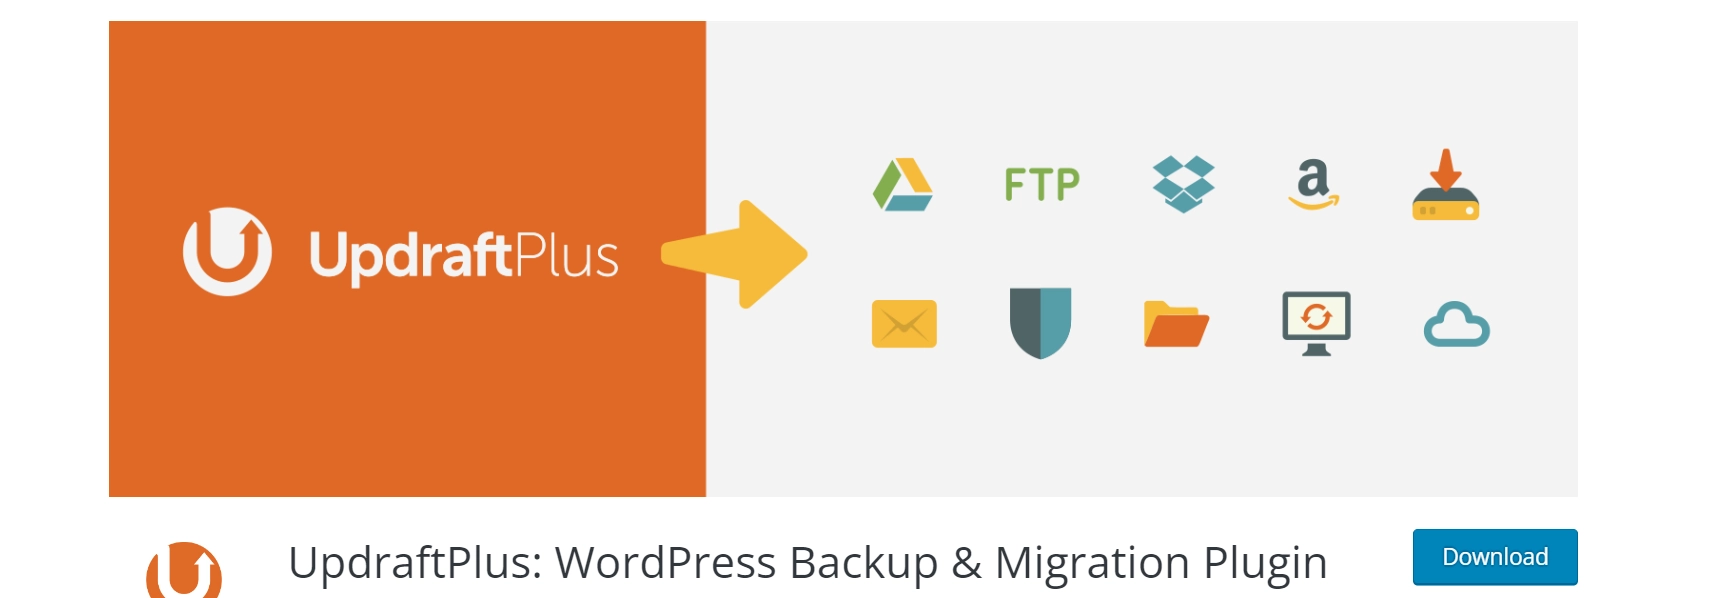
Updraftplus is a WordPress backup plugin. It simplifies the process of backup and restoration. It allows you to backup your database into the cloud and to restore it with a single click.
Now How-to out of the way below are the pages you should consider creating:
Following are the sections you need to add to make your website impressive and appealing.
About
In this section introduce yourself. Address the pain points of the readers and try to communicate in what way you can be beneficial for them.
Services
In this section list your offerings. Describe your unique features. Try to communicate in that way you are different from the rest in the market.
Privacy policy
Your site has to be compliant with the privacy laws of the countries you deal with. So, a privacy policy is a mandatory thing. Make your privacy policy to the point and clear.
Store
If you are running an online store, showcase your products in an attractive way. All information about prices, discounts and offers should be clearly mentioned.
Contact us
Your readers may want to contact you for further information. For this purpose, you need a contact page. Your contact details should be mentioned clearly.
Create a powerful niche website capable of doing a lot more
The final step is, give your website an ideal look and make it perfect for the niche you operate in. you can do a lot with your website. Here are some common types of websites you may go for –
- An eCommerce website
- A personal website or blog
- A business website
- A membership website
- A job board website
- A question and answer website
- A web dictionary
- A knowledge-oriented website like that of science and technology
For more information read our guide on How to Make Money with WordPress
Final thoughts..
Hope we could help you to learn how to build a website with WordPress on your own. Did you find the steps helpful? If you are now feeling confident then grab your mouse and try the steps. Your dream website is only a few clicks away.
If you liked the article, please share it with your friends. Leave your feedback in the comments section. We would love to hear from you.You can find us on Twitter and Facebook. Also, subscribe to our Youtube channel for more tutorials.
Leave a Reply